Record a remote TTRPG game with OBS
Record your TTRPG game on Discord and your microphone in one file, then export an MP3 file to add to VoLog.
Updated Aug 24, 2026
Choose this method
Use OBS if you play remotely and want to produce the audio file yourself. If the VoLog bot can be added to the server, Record with Discord avoids this preparation. If everyone is around the same table, follow Record with your own device instead.
Prepare OBS Studio, Audacity with FFmpeg, headphones and enough free storage for the working file. This guide covers Windows 10 version 2004 or later, Windows 11, and macOS 13 or later with OBS 30 or later. Setup depends more heavily on the system under Linux and on older Macs, so it is not covered here.
This method combines every voice in one file. It does not allow one person to stop only their own voice from being recorded. Tell the table, obtain everyone's agreement before recording and see Consent and data if needed.
Prepare Discord
- Connect your headphones and select them as the output device in Discord.
- Select the microphone you will use during the game.
- Turn off audible notifications from Discord and your operating system.
- Close applications that could play sounds or display private information.
- Join the voice channel before selecting Discord as a source in OBS.
Set up OBS on Windows
Application audio capture is available with OBS 28 or later on the covered Windows versions. The official OBS guide for Windows describes the available variants.
- Create a scene for the game.
- Add Application Audio Capture (BETA) and select Discord.
- Add Audio Input Capture and select your microphone.
- Under Settings > Audio, disable global devices that duplicate these sources.
- Under Settings > Output, choose advanced mode, the MKV format and audio track 1.
- In the advanced audio properties, assign Discord and the microphone to track 1.
Each source should appear only once in the mixer. Track 1 must contain the complete mix because VoLog does not combine separate tracks when you add the file.
Set up OBS on macOS
These steps use the capture built into OBS 30 or later on macOS 13 or later. See the official OBS guide for macOS for compatible versions.
- Allow OBS to use the microphone and capture system audio.
- Create a scene, then add macOS Audio Capture and select Discord.
- Add Audio Input Capture and select your microphone.
- Disable any global device that duplicates one of these sources.
- Choose the MKV format and track 1, then assign both sources to that track.
If your system or OBS version does not offer these sources, do not start the game until you have tested another method from start to finish.
Test before the game
- Ask another person to join the channel.
- Record at least 30 seconds while taking turns speaking.
- Check that the Discord and microphone meters move separately.
- Listen back with headphones.
Both voices should be understandable, without echo or interruptions. If one voice is missing or heard twice, fix the sources before the game. Audio troubleshooting describes common causes.
Record and export
Start OBS just before the game, check both meters, then avoid changing devices or sources. At the end, stop recording and wait for OBS to finish the MKV file.
Open the MKV file in Audacity. If it does not open, install FFmpeg using the official Audacity instructions, then restart Audacity. Listen to the beginning, a section in the middle and the end before using File > Export Audio to create an MP3 file.
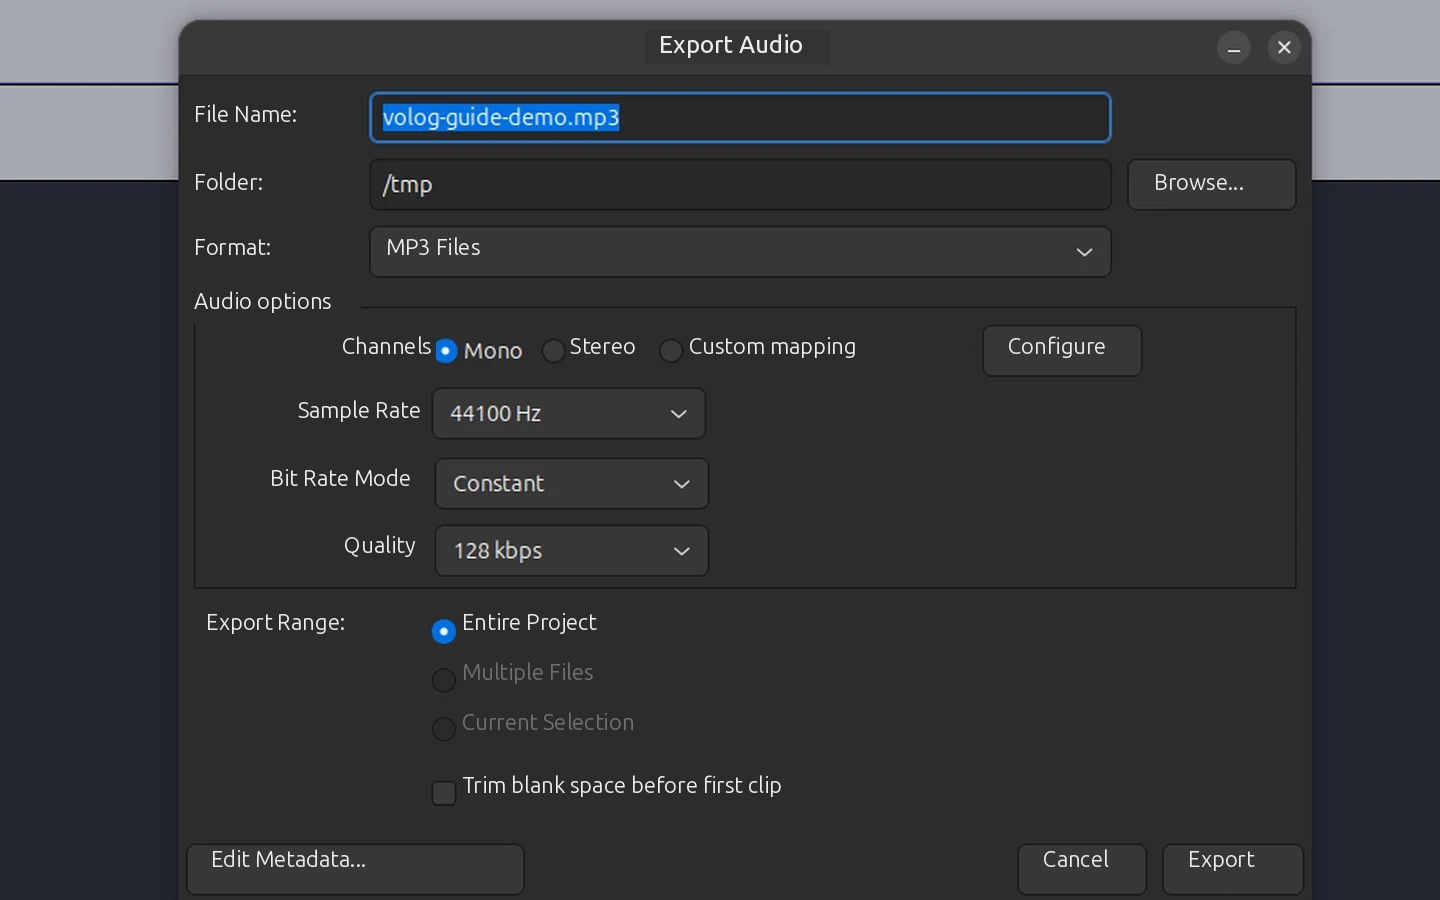
Do not add the Audacity .aup3 project, the MKV file or a file whose extension was merely changed. Keep the original file until transcription is complete.
Add the file
VoLog accepts one MP3, WAV, M4A, WEBM or OGG file, up to 1 GiB and up to 8 hours long. Follow Create a Session from an audio file to check the cost and start creating the Session.